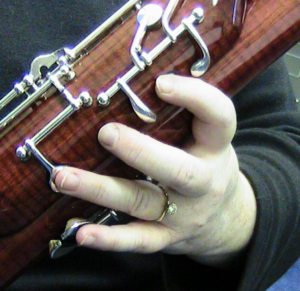
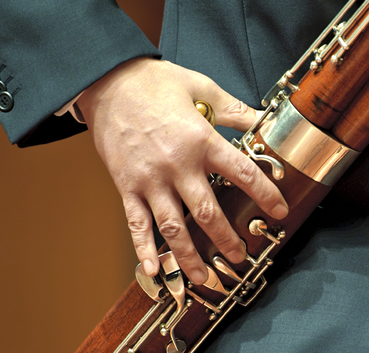
The Ideal Hand Position
- Relaxed fingers, softly curved over the keys and tone-holes
- Pads of fingers cover the holes
- Use pad near tip of left thumb (avoid hitchhiker’s thumb)
- Pinkies and thumbs should be curved and have relaxed mobility
Note: If you have small hands, refer to chapter 4 for information about short reach model bassoons.
Left-Hand Thumb Keys
There are four keys on the back (the side the player can see while playing) of the long joint and four or five keys on the back of the wing joint. All of these keys are operated by the left thumb, but thankfully not all at once.
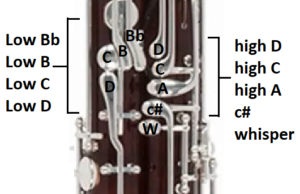
If your left thumb is relaxed and close to the keys needed, you will be able to move quickly and accurately. If your thumb is stiff or the joint is locked, you will not be able to move quickly or accurately. This will cause coordination problems between your fingers and your thumb.
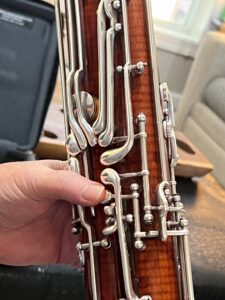
Right-Hand Thumb keys
There are four keys on the back of the boot joint (the side that faces you). These keys are operated by the right-hand thumb.
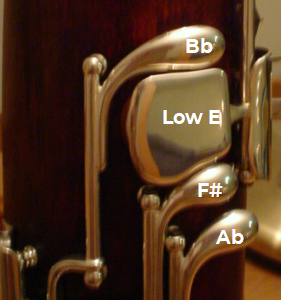
The resting position of the right thumb is important. Resting the thumb on the low E key guard (which is right beside the low E/pancake key) you will be able to move easily and accurately to the required thumb keys. If your thumb is out of position (above the Bb for example), you will have to lift your thumb and move it into position before pressing the required thumb key. This will lead to coordination problems between your fingers and your thumb.
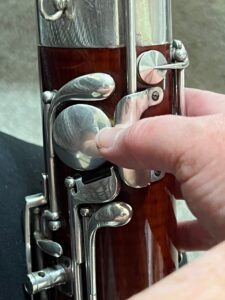
Use your thumb like a pencil.
Think about how you hold a pencil to write. What part of the tip do you use? Not the very tip or point, and not the side of the pencil. You use the side of the tip.
Do the same with your thumb when pressing keys on the wing joint. Press the whisper key with the fleshy part of your thumb just below the tip instead of the harder flesh around the joint.
Using the end near the tip keeps the thumb joint softly curved and that allows the quickest motion and greatest accuracy.
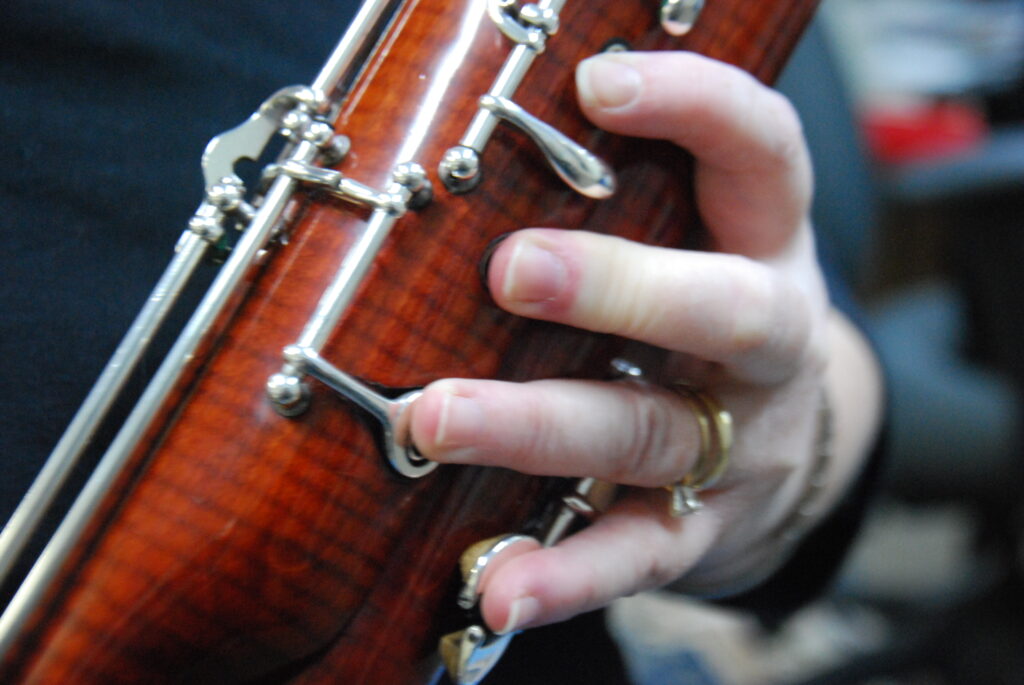
Avoid “Hitchhiker’s Thumb”
The middle of your thumb is a larger surface so it can’t be as accurate as near the tip. Using the middle of your thumb can also cause the joint to collapse or lock and that greatly limits motion.
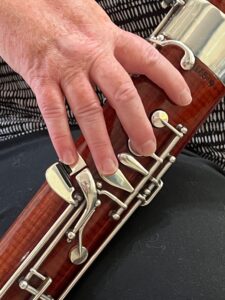
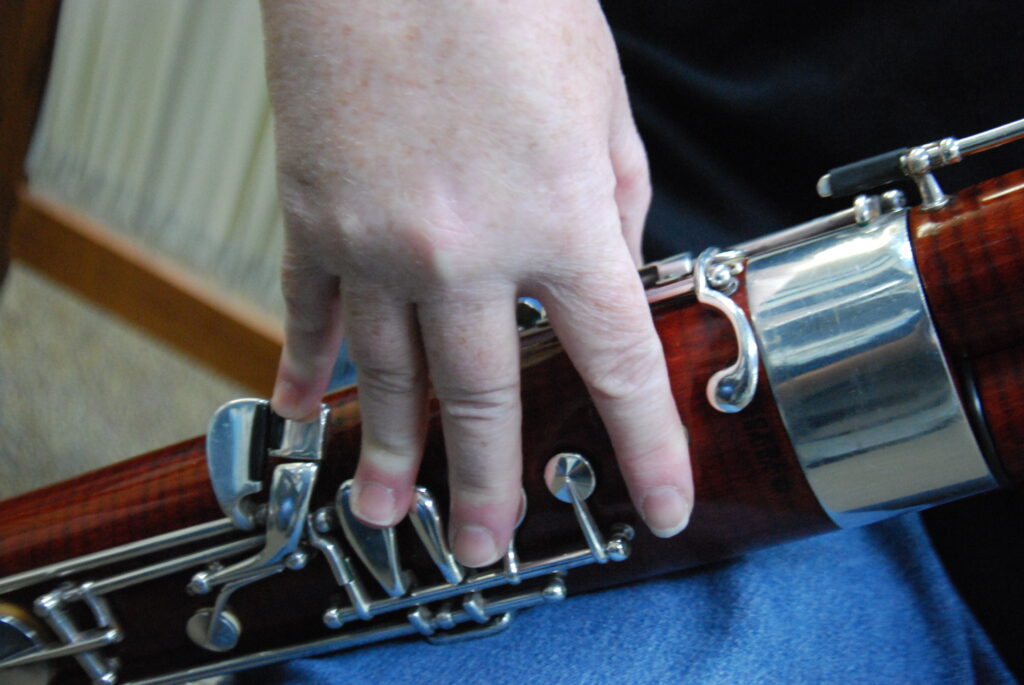
Hover over the keys/holes
Let your thumbs and fingers hover over the holes or keys each is assigned to operate.
Keys: let your fingers rest lightly on the keys when not pressing them down. That will keep them in position and ready for use.
Holes: your fingers will need to rest just above the airstream coming out of the hole. This is only about a quarter of an inch. If your fingers rest too close to the holes, the pitch will not be accurate, and the tone will be muffled.
Common Hand and Finger Problems
- Tone-holes are not covered completely. Leaks will cause poor response and/or squeaking just like on clarinet and bass clarinet.
- Collapsed finger joints due to squeezing. A collapsed joint makes lifting the finger a two-step process (relax & lift). This creates uneven finger technique.
- Fingers out of position when not in use. This can cause leaking and squeaking and sloppy technique.

Feedback/Errata